Logitech unifying receivers are a rarity among tech products. It aims to reduce complexity instead of creating more. They help connect more than one -to be exact, 6 – supported devices to a PC using a single unifying receiver.
Every wireless device comes with a receiver that acts as an intermediary between the device and a PC or other supported device. I had an HP mouse once and since when I lost its receiver, it’s a dud. Couldn’t find a replacement and with the receiver gone, the mouse is as useful as a paperweight, literally.
Using a Logitech device mitigates such issues by allowing us to connect multiple Logitech devices using a single receiver
If you prefer to watch the procedure to download and install Logitech Unifying software, see the YouTube video on the topic.
Here are the steps
Step 1 – Download and install Logitech Unifying Software
This is the link to download Logitech Unifying Software
The website will analyze your Operating System and give you the download accordingly. For Windows, it’s a 4 MB file.
Once you download it, install the application. On the completion of installation, unifying software will automatically start.
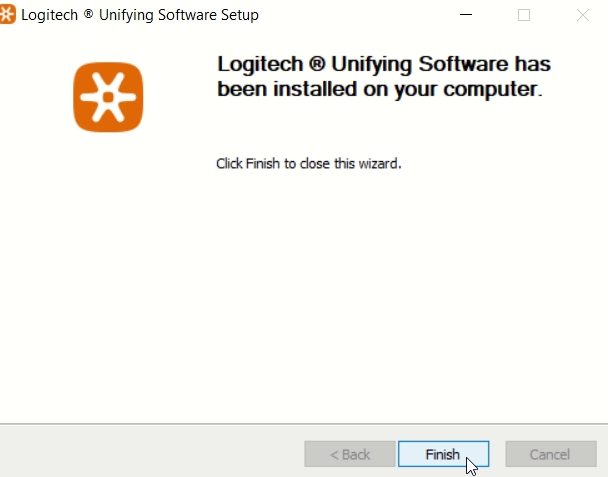
If you have not connected your Logitech Unifying receiver yet, now is the time to do so.
Step 2 – Start the app and connect with the device
If you have just installed the application, on click of the finish button, the app will start automatically. Otherwise, search for Unifying software in the apps list and open it.
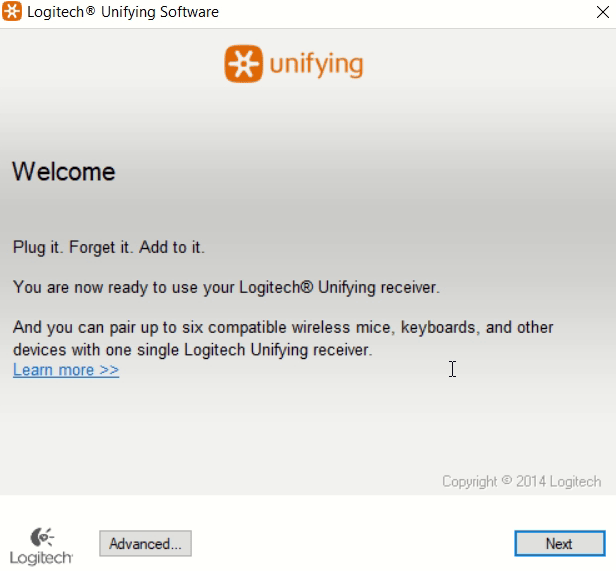
Click On ‘Next’ from this page. Once the software is ready, you need to switch ON the device to be paired. If it is already ON, switch it OFF and then switch On
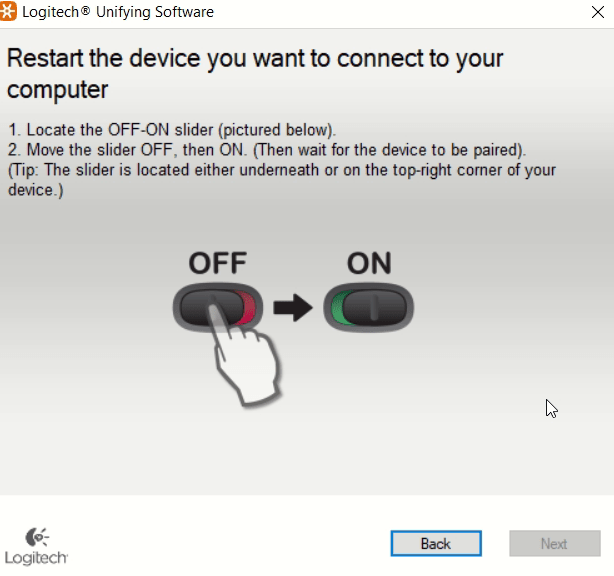
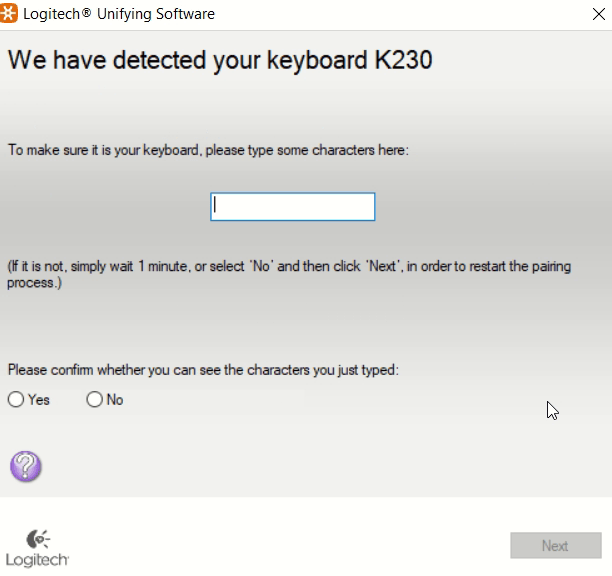
Once you switch the device ON, an identification will happen. Here, I tried to connect a K230 Keyboard, hence a text box appeared asking to type something and see if it is working.
Step 2A – Test the device
If you try to connect a mouse, you will be asked to move the mouse and see if the connection was successful. Here, I have used an M235 mouse which I purchased earlier.
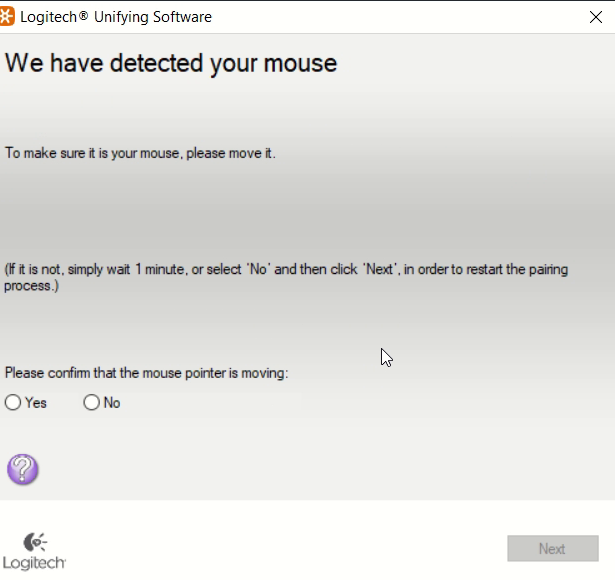
Once you are satisfied that the device in intent is connected, you can select yes and then click on the Next button. You will see a Success message as shown below.
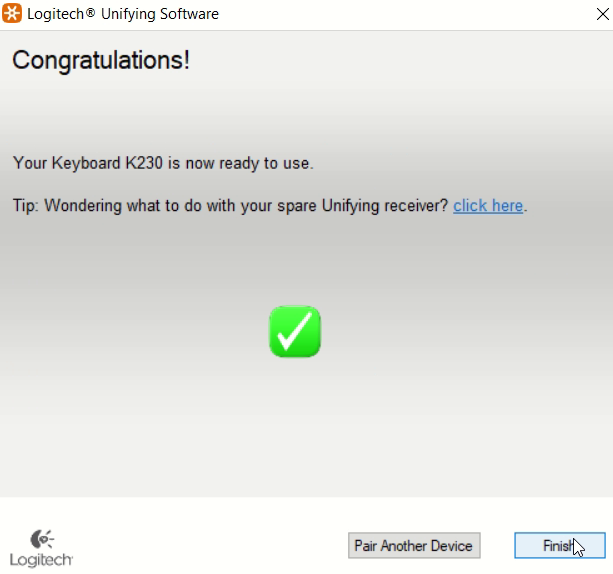
That’s it, you have successfully connected a new device to Logitech Unifying Receiver. Now, I would like to add some further info about Logitech Unifying Software
All about Logitech Unifying Software
Logitech Unifying Software is not just pairing software. It can do much more than that.
How to un-pair/ remove a device from Logitech Unifying Software
To remove a device from Logitech Unifying software, click on the Advanced Tab from the start screen of the unifying software.

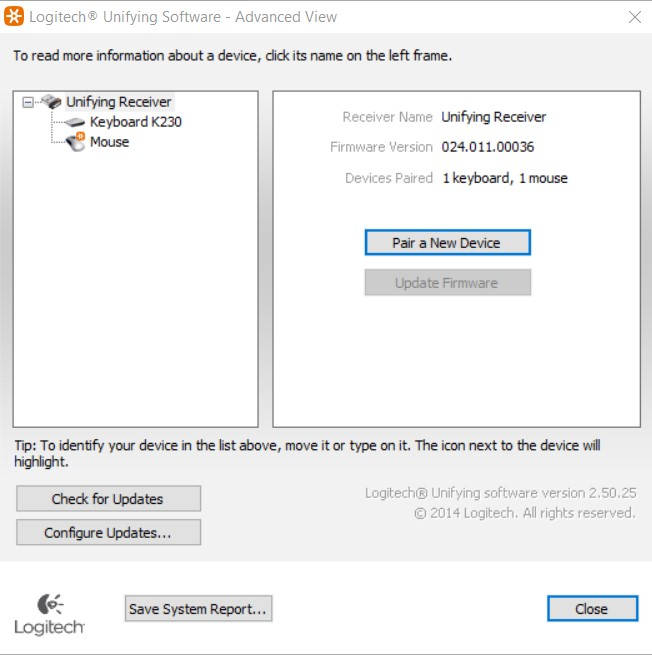
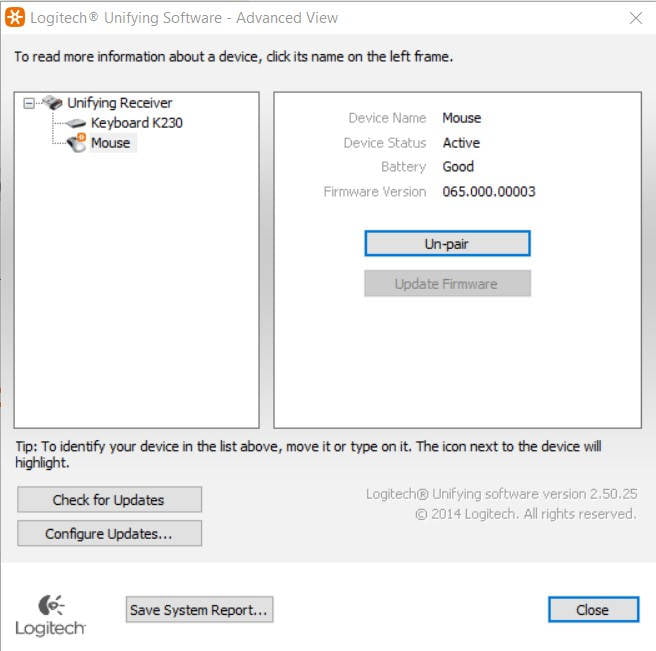
At the advanced settings screen of the Logitech Unifying software, select the device you want to remove from the unifying receiver. Then click on the un-pair button on the right side of the panel. Your device will be successfully removed from the receiver.
How to update the firmware of a Logitech device using Unifying software
If an update to the firmware is available, the ‘Update Firmware’ button will be activated when the device is selected. You can update the firmware of the Logitech device directly using this button.
You can also update the Logitech Unifying software directly from this window. There is an option to automatically download updates in the ‘Configure Updates’ section.
I hope this answers all your questions about Logitech unifying software. If you have any more questions in mind, please place a comment.
Posts You Might Like
How to scan QR codes in any Android phone without downloading apps

